Blank walls are one of the most common styling hurdles in small-space living. It’s easy to freeze up when decorating a small flat. You don’t want to drill holes everywhere if you’re renting, fine art costs a small fortune, and there’s always that underlying fear that hanging too much will make the whole room feel cluttered and claustrophobic. So, the walls stay bare.
The good news is that making a small wall look pulled together doesn’t actually require thousands of dollars or a degree in interior design. It comes down to a few basic principles around scale, frame choices, and mixing in things that actually have some personality. Here is how to work with small-space walls on a real-world budget.
1. Scale and Placement: Stop Hanging Your Art Too High
If a room feels slightly “off” after you’ve hung a picture, nine times out of ten it’s because of height.
There’s a classic gallery rule that says you should hang the center of a frame 57 inches from the floor. That works fine in a museum with massive ceilings, but in a compact apartment with lower furniture, it often leaves a huge, awkward gap between your sofa and the frame. The art looks like it’s floating away toward the ceiling.
Instead of measuring from the floor, anchor the frame to what’s below it:
- Above a sofa or credenza: The bottom edge of the frame should sit about 6 to 10 inches above the top of the furniture. This links the pieces visually so they read as one unified zone.
- Working with low ceilings: Stack two or three matching frames directly above one another. This vertical line tricks the eye into pulling the room upward, making the ceiling feel higher than it actually is.
- Narrow hallways: Hang pictures in a clean horizontal row. It stretches the perception of the hallway, giving it a bit more breathing room.
Don’t feel pressured to cover every square inch either. Blank space around your frames gives your eye a place to rest. In a small flat, a little breathing room goes a long way toward keeping things looking deliberate rather than messy.
2. High-End Look, Thrift Store Prices
You rarely need to buy brand-new artwork or expensive matching frames to get a clean, polished look. In fact, matching sets straight out of a box often end up looking a bit cold and characterless.
- Paint Mismatched Frames One Color
Thrift shops and flea markets are full of dirt-cheap frames, but they usually come in a chaotic mix of scuffed pine, faded gold, and cheap plastic. The easiest fix is to pick up a single can of satin black or warm cream spray paint. Spraying a collection of totally mismatched vintage frames in the same color instantly ties them together. You get interesting, varied shapes and profiles, but the uniform finish keeps it from looking like a chaotic pile of junk.
- Why You Should Use Mat Boards
If you have a small postcard, a cutout from a magazine, or a simple sketch, don’t just pop it into a tiny matching frame. Put it into a much larger frame with a wide paper mat board. That extra border around a small piece of paper gives it weight and drama. Suddenly, a $2 vintage postcard looks like something picked up at an exhibition.
- Add Some Texture
A wall covered exclusively in flat glass frames can feel a little flat. Try breaking up the glass with different materials:
- A small wooden peg rail holding a canvas tote or a hanging plant.
- A small woven wall hanging or textile.
- A tiny metal wall sconce or a vintage brass object.
Mixing wood, fabric, metal, and paper creates depth, which makes a small room feel richer and much more lived-in.
3. Bringing in Custom Art Without Spending a Fortune
Mass-produced prints from big-box home stores are convenient, but everyone has seen them a hundred times. Besides, finding a commercial print that happens to match your exact couch cushions or rug accent color can be a nightmare.
Making something yourself solves both problems, even if you don’t consider yourself particularly artistic.
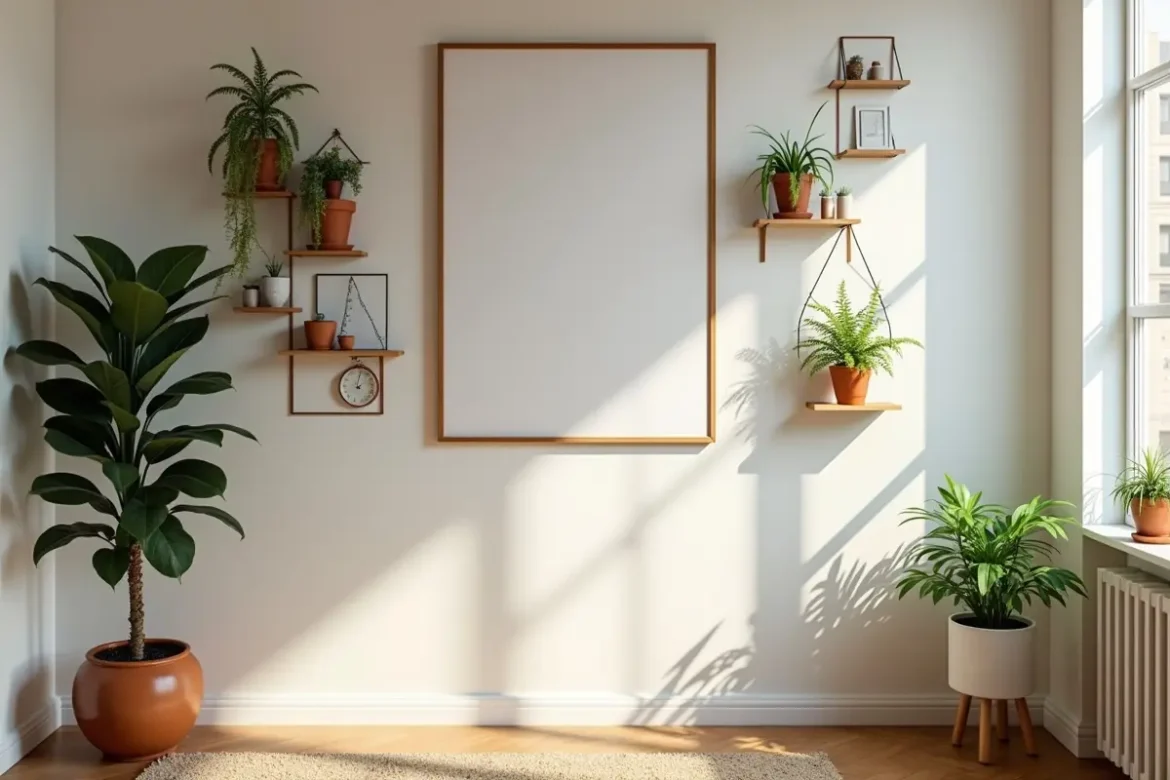
When planning a balanced gallery wall layout, aim to mix different elements together. For example, combine a warm wood frame containing a vintage print with a center piece like a DIY painted canvas, and balance it on the side with a textured object or small wall textile.
The Case for Paint by Numbers
If the idea of a blank canvas feels intimidating, modern Paint by Numbers sets have become a surprisingly useful tool for interior decorating. They aren’t just for kids anymore—there are plenty of adult-focused designs available, ranging from muted architectural scenes, abstract geometric shapes, and soft botanicals to iconic Van Gogh classics, like his starry nightscapes and vibrant sunflowers. You can even find minimalist line art or impressionist coastal views that look like they were picked up at an independent gallery.
Here’s why they work so well for city living:
- Color Control: You can buy a kit that matches your flat’s specific palette—think sage greens, muted terracottas, or warm oatmeals—so the finished piece slots into your decor naturally.
- Compact Setup: You don’t need a massive studio or boxes of messy art supplies. A kit sits neatly on a small kitchen table and packs away into a small box in two minutes.
- Texture on the Wall: A painted canvas brings real, physical texture to a room. When you put a finished canvas into a simple floating frame, it adds a warm, tactile quality that flat digital prints just can’t replicate.
It’s also just a nice, low-pressure way to unplug at the end of the day without looking at a phone screen.
4. Renter-Friendly Hangs (No Drilling Required)
If your lease explicitly forbids putting nails in the plaster, you still have options. You don’t have to live with empty walls for the duration of your contract.
- Velcro Hanging Strips (Best for light to medium frames): Wipe the wall clean with rubbing alcohol first, and press firmly. Don’t rush hanging the actual frame—let the adhesive set properly.
- Picture Ledges (Best for a flexible art display): Mounting one thin picture ledge allows you to overlap frames, lean prints, and swap things around whenever you get bored, all with just two initial anchor points.
- Leaning Frames (Best for large or awkward pieces): Instead of hanging a larger frame, lean it directly on top of a low bookshelf, a desk, or even the floor against a quiet corner. It looks relaxed and saves wall space.
- Integrating Mirrors (Best for dark corners): Slotting a small mirror into a wall grid reflects light back into the room, making a tight flat feel slightly brighter and more open.
5. How to Put It All Together Step-by-Step
Trying to plan a whole wall layout in your head usually leads to a lot of extra holes in the drywall. Here is a practical way to do it without the headache:
- Start with one main piece: Pick your favorite frame, a finished painted canvas, or a mirror to act as the anchor.
- Keep the palette tight: Stick to two or three recurring tones in your frames and artwork. If your frames are wood and black, keep the artwork colors grounded in similar warm or cool tones so everything talks to each other.
- Test it on the floor first: Lay all your frames out on the rug or floor directly below the wall. Move them around, swap positions, and check the spacing between frames before you stick anything onto the wall.
- Hang the anchor first: Place your main piece on the wall slightly off-center or right above your anchor furniture, then build out around it with your smaller pieces and textured items.
- Summary
Styling a small wall isn’t about buying a bunch of expensive decor—it’s about using proportions smartly, giving cheap secondhand finds a second life, and adding a few hand-crafted touches that make the space feel like yours. With a bit of spray paint, some thoughtful placement, and a quiet evening spent painting or framing, you can easily turn an empty white wall into the cozy focal point your flat deserves.