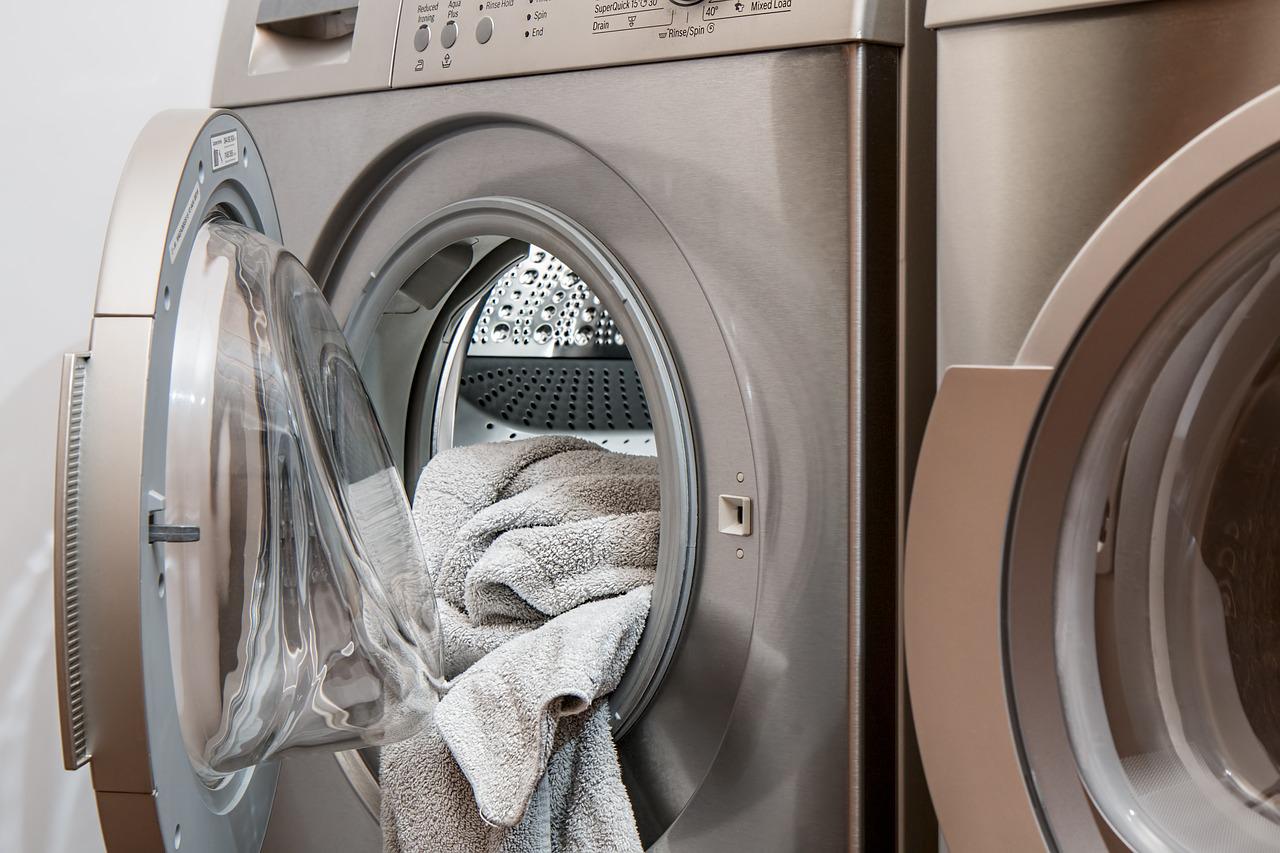
It’s always nice to smell fresh clothes coming out of the dryer. But it’s annoying when your dryer has a lint buildup. You can relate to it if you use a dryer in your house regularly. The lint buildup in your dryer not only reduces its performance efficiency but is also dangerous for your household.
If your dryer exhausts air outside of your home, you must vent it on a regular basis. Venting the dryer is important whether you use an electric or gas dryer as it eliminates moisture from the clothes to prevent mildew and rot. Mold can easily grow in hot and humid conditions.
Preventing mold growth is critical for your and your family’s health and safety. Installing a vent also reduces drying time by flowing out the moist air so it doesn’t flow through the clothes.
In this article, we will explain how to vent a dryer in your house. We will talk about the basics of venting your dryer so you can succeed on this project. But you will still need to consult with professionals to ensure that everything is in order. Try to find the best professionals in your area to discuss the details. You can search it online on certain websites by entering your zip code and the service category you need.
Now let’s get started with the venting procedure.
Contents
Start By Installing the First Vent Hookup
Running a vent hose through a window is the best option to vent a dryer in the middle of a house without outside access. Alternatively, you can send a vent hose up through your attic area to a dryer vent on your roof.
First, you need to locate the first venting periscope. If possible, it should pass through the floor and over a previous vent.
After that, you might need to adjust or slightly change the position of the periscope in certain cases. Place the periscope at about a 90-degree angle, or as close to that as possible. Then, try it on the dryer to check whether it fits. Secure the borders and tighten the screws.
If the periscope does not fit, you should go to the nearest store right away and purchase one that does. In short, you can’t use a periscope that doesn’t fit your dryer.
Install The Second Periscope
After the first periscope is successfully installed, the next step is to install the second one. Check to see that the first periscope is still in place. After that, you should return to the ground floor to install the next periscope.
Get the next section of the periscope and combine them both. You can do it by joining the last one’s top part finish and the periscope’s base finish on the dryer.
Seal The Periscope
Once the periscopes are in place, use splash froth protection to seal the periscope. This will shield your dryer vent while it is in use. Choose a high-quality sealant and apply it outside the vent rather than within. Check the seal again to make sure you didn’t kill the wind current.
Fix The PVC
Fixing the PVC could be a little difficult. First, you must determine the house plan. There are two ways to do it as described below.
Option A
This option will work if you have a half-cellar or cellar with enough space to use PVC to drive the air outside the house. The form’s possibilities and overheating will limit your necessary framework. Here’s how you do it.
Measure the opening of the second periscope precisely. Connect the PVC and enable it to entirely flow to the initial driving outside. For proper heat removal, there should be 5′′- 8′′ of cover on the outside. Join a lattice or fold to the farthest limit of the PVC if you want to limit the number of bugs entering the line.
Option B
This option can be used if your cellar does not have outside venting. You should be aware that you will not be running the PVC outside the house. You will need 4′′- 6′′ of PVC. Place the PVC section so it hangs from the open base finish of the periscope. In addition, if you have adequate room, you can place a container of water beneath the PVC. It is a simple and cost-effective method of capturing plenty and reducing the risk of fire caused by venting.
How Frequently Should You Clean Your Dryer Vent?
Cleaning your dryer vent regularly is very important to keep it clean. If you’re not sure how often you should clean your dryer vent, here’s the recommendation. Experts recommend you have your exhaust vents inspected and cleaned by professional dryer vent cleaning services Chanhassen (or elsewhere) at least once a year. However, if your family uses the dryer frequently or if you have a large number of children, you should have it cleaned every six months.
How Do I Clean My Dryer Vent Without Climbing To The Roof?
First, you need to remove the lint buildup manually and ensure that the hose attachment is directed to the inside of the duct. You can use a lint brush to remove the lint that has accumulated at the duct opening. Then, using the hose extension, vacuum deep inside. It is advisable to use a dryer vent kit if you have a very long vent that extends all the way to the roof.
Cleaning the dryer vent can be too tough to do by yourself. So it is best to seek the assistance of an experienced professional. You can search for the most qualified service providers in your area online.


