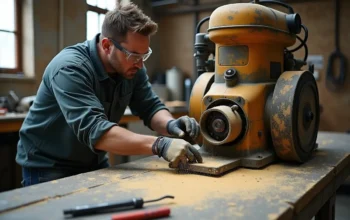
Maintaining an efficient plumbing system in your home goes beyond immediate fixes—it ensures long-term safety, healthy water quality, and prevents expensive property damage. Whether you’re dealing with hidden leaks or aging infrastructure, understanding the warning signs and tackling replacements at the right time is essential. For those concerned about specific materials, seeking Certified Poly B Repair Services can provide peace of mind and lasting solutions.
The risks of outdated or deteriorating pipes are more than financial; they can also affect your family’s health. Hidden corrosion, ongoing leaks, or compromised water pressure often signal underlying problems that need immediate attention. Proactive maintenance and timely upgrades not only improve water quality but can also extend the life of your entire plumbing system.
While pipe inspection and replacement may seem daunting, understanding the fundamentals enables homeowners to act quickly, consult professionals, and make informed decisions. Homeowners should be aware of problematic pipe materials used in older homes, such as galvanized steel or Poly B, which may demand extra caution.
Major industry publications recommend educating yourself on pipe materials and the early signs of deterioration to minimize the risk of water contamination and structural damage. By recognizing and responding to these issues, you can avoid major headaches down the line.
Contents
Signs of Deteriorating Pipes
Spotting potential problems in your plumbing system early is key to avoiding major water damage and hazardous exposures. The most common warning signs to look for include:
Discolored Water: If your faucets run brown or yellow, it’s likely an indication of rust or corrosion in your pipes. This is not only unappealing but could also indicate unsafe levels of metal entering your water supply, according to the U.S. Environmental Protection Agency (EPA).
- Low Water Pressure: A persistent drop in water pressure often stems from internal blockages or buildup that narrow the water’s path. Corroded or scaling pipes can be to blame, with more frequent issues found in older homes.
- Frequent Leaks: Continuous leaks or recurring moisture can point to more than just minor surface damage. These problems might suggest a systemic failure throughout your plumbing, warranting a complete evaluation and possible replacement.
- Visible Corrosion: If you see rust, green discoloration, flaking, or mineral deposits on exposed pipes, this can signal the end of a pipe’s useful life. Addressing corrosion quickly can prevent pipes from bursting in the future, which often leads to severe property damage.
Steps to Replace Problematic Pipes
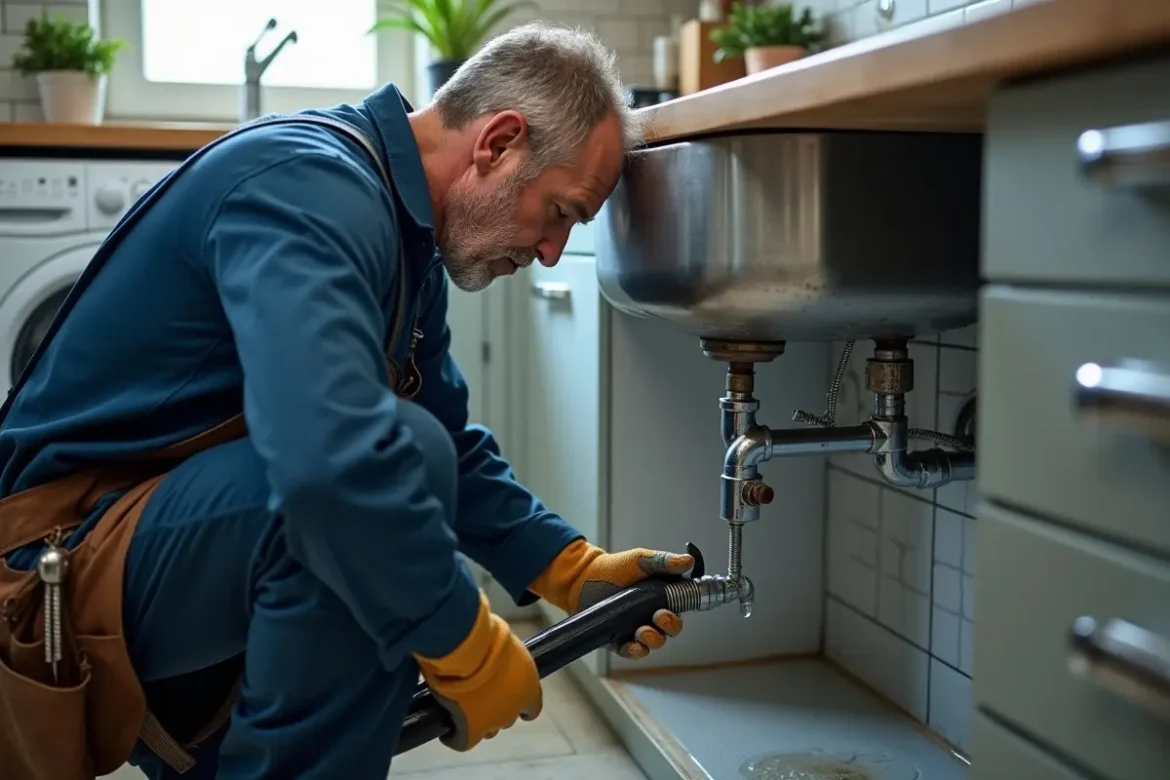
Fixing problematic pipes calls for a thoughtful, thorough approach. While some homeowners may handle small repairs, full-scale pipe replacement should be left to professionals for safety and code compliance. According to HowStuffWorks, understanding the basics of plumbing repairs can help homeowners tackle minor issues safely, including identifying leaks, choosing the right tools, and following proper safety precautions. Even with this knowledge, knowing when to call a licensed plumber is essential to prevent costly mistakes and ensure your home’s plumbing system remains reliable. By combining preventive maintenance with careful DIY fixes, homeowners can keep their pipes in good condition and avoid emergencies down the line. Here are the main steps to expect during a replacement project:
- Assessment: Begin with a full-system inspection to confirm which pipes need attention. Plumbers use advanced tools—such as cameras—to scan hidden piping and pinpoint internal corrosion, leaks, or blockages before disruptive work begins.
- Material Selection: Replacing pipes presents an opportunity to upgrade. Copper and PEX (crosslinked polyethylene) are preferred for their resilience, flexibility, and high corrosion resistance. Evaluate your local water conditions and any municipal regulations that may influence your choices.
- Professional Installation: Always enlist licensed, experienced plumbers for the replacement process. They’ll not only ensure proper connections and secure joints but also guarantee that your new plumbing complies with local building codes, protecting your home’s insurance status.
- Testing: After new pipes are installed, comprehensive testing is crucial. Pressure tests check for leaks, and plumbers will flush the system to be sure that water quality and flow rates are restored—or improved—throughout your home.
Preventive Measures
Preventing future plumbing problems is more effective than managing emergencies. Regular maintenance and responsible use habits help homeowners extend the life of their pipes and conserve resources. Implement these best practices:
- Regular Inspections: Schedule annual professional assessments, especially if your home has older piping or a history of leaks.
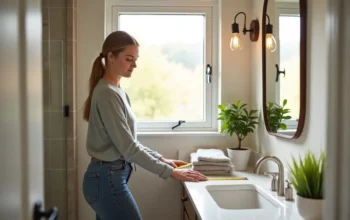
- Water Quality Monitoring: Test for changes in taste, clarity, or odor regularly, and install filters where needed.
- Immediate Repairs: Address any leaks, drips, or corrosion promptly—even small problems can escalate rapidly if left unchecked.
- Educate Household Members: Train everyone in your home to avoid flushing or disposing of grease, food wastes, feminine hygiene products, or non-flushable wipes down drains, as these cause blockages and accelerate wear.
Conclusion
Staying proactive about your plumbing system’s maintenance protects both your home and family. Early detection of pipe issues, smart material selection, professional installation, and ongoing preventive care are key to minimizing risks. By identifying and replacing problematic plumbing pipes before they fail, you avoid expensive repairs, keep your water clean, and ensure the longevity of your home’s most essential infrastructure.