Bathroom tiles can be tricky to keep clean, especially if your bathroom is used several times a day. From extra moisture in the air to hairs that never seem to leave, a bathroom can be tricky to keep clean, but it doesn’t need to be!
To help you achieve a sparkling clean bathroom that feels a little more luxurious, we have broken down how to clean every aspect of your bathroom tiles, from the walls to the grout. Follow along to see how you can restore your bathroom tiles to their former glory!
Contents
Cleaning bathroom tiles: step-by-step
Before we dive into our step-by-step cleaning guide, it’s worth noting that this is general cleaning advice. Before cleaning your bathroom tiles, check the best way to clean them, depending on their material. Not every cleaning product is suitable for use on tiles, and you don’t want to scratch or damage them. Check with the manufacturer for any specific cleaning guidance before moving forward with our guide:
Step 1: Clean the grout
Grout can look dirty quickly, especially if mould starts to grow. Though it can be fiddly to get into the grout between your tiles, it isn’t too difficult to clean. It can be time-consuming, so make sure you set aside enough time to give the grout the clean it deserves.
An old toothbrush is the most effective way to reach these areas. While many recommend bleach to clean grout, we recommend taking care, especially if you have dark or coloured grout. Bleach can fade the colour, ruining the appearance of the grout. Instead, we recommend using baking soda and water.
To clean the grout, mix baking soda with water to create a paste. Use your toothbrush to work the paste into the grout, cutting through the dirt without damaging the grout. Once the paste is added to the grout and worked into every area, leave it for approximately 30 minutes. You want the paste to soak into the grout before rinsing off with clean water. Use a microfiber towel to remove any residue and repeat the process if needed.
You can also use a grout pen to restore your grout if the colour has faded. The pens are easy to use, allowing you to ‘draw’ over the grout to change the colour or restore it.
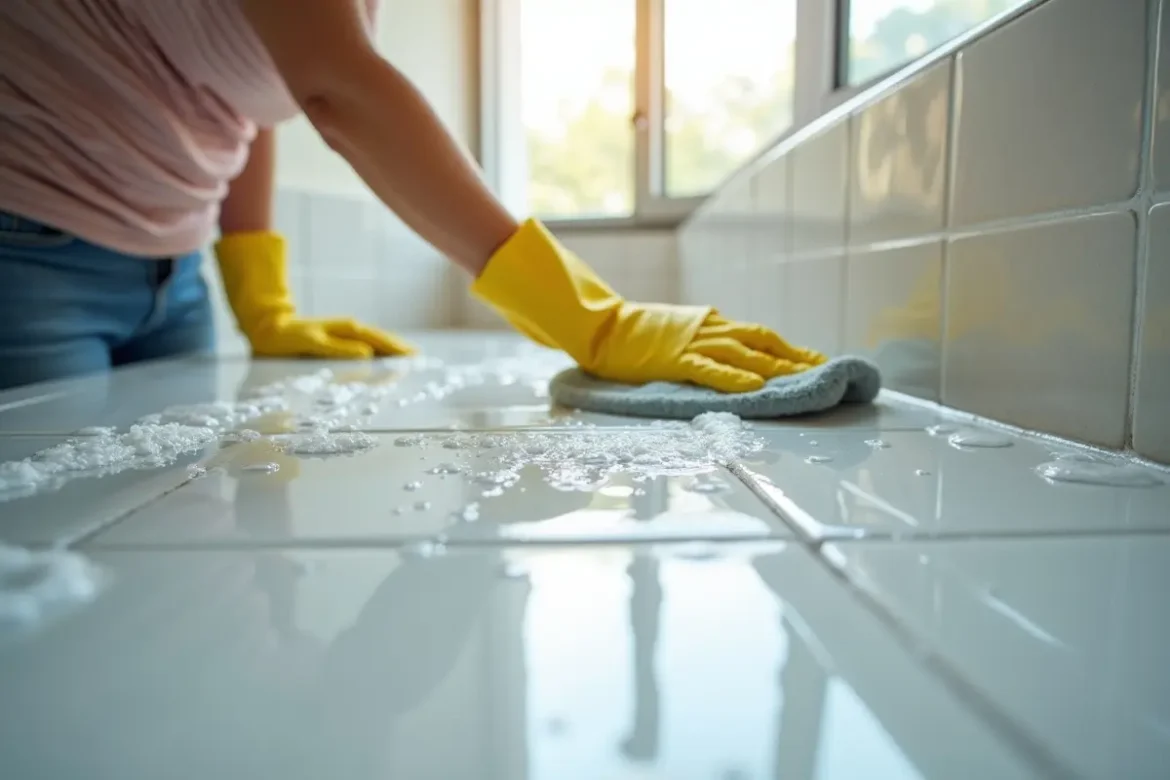
Step 2:Clean the wall tiles
Once the grout is cleaned, it’s time to focus on the wall tiles. Before adding any cleaning products to your tiles, consider their material to prevent damage. You should avoid harsh cloths and vinegar on marble surfaces, as these can scratch and damage the tiles. Vinegar can be used on ceramic tiles, but be cautious when using scouring pads on plain tiles, as they can easily scratch the surface. A microfibre cloth is the safest option for all tiles.
To start, run the shower for a few minutes using hot water. This helps the ceramic pores on your tiles open, making it easier to access and remove dirt. Use baking soda and dish soap to create a soapy solution in a bowl, adding some warm water. Using a sponge, wipe the tiles with the mixture. You shouldn’t need to scrub too hard; use a gentle and constant wiping motion instead. You won’t need to apply much pressure either.
Leave the solution on the tiles for a short while, then rinse it off with water. Follow with a cloth or towel to dry mop the tiles, ensuring no water remains.
Step 3: Clean the floor tiles
You can clean floor tiles in the same way you clean your wall tiles, focusing on the grout first, then moving on to the tiles. However, this method will require you to be on your hands and knees, which is not practical for everyone, especially if you have a large surface area or mobility issues. To ensure a good clean without hurting your knees, a steam cleaner can be used to clean floor tiles.
Check before beginning that you can use a steam cleaner on your tiles to avoid any damage. Use a large cloth or vacuum to remove any dirt or debris first. This prevents the steam cleaner from scratching them over the tiles. When you are satisfied, you can use the steam cleaner to clean the entire floor, ensuring you cover all surfaces.
Allow the floor to dry completely before wiping it with a cloth.
Give your bathroom tiles the clean they deserve
Armed with our guide, you can now enjoy sparkling bathroom tiles every day! The frequency at which you need to repeat the steps will vary depending on how often your bathroom is used, and it may take some trial and error to strike the right balance.
Should you decide that the time has come to change your bathroom tiles and give the space a new lease of life, we recommend Cheap Tiles Online, who have a huge range of affordable bathroom tiles to choose from. Many feature smooth surfaces for easy cleaning, too! Explore the range of bathroom tiles available at Cheap Tiles Online today.