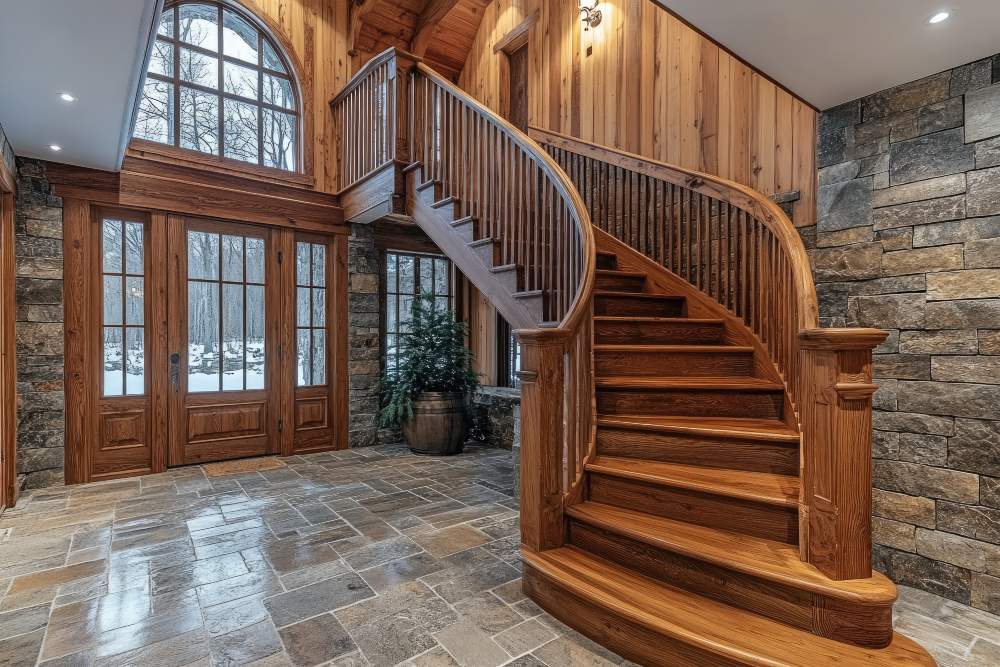
The right flooring sets the tone for a modern farmhouse look, blending rustic character with a clean, contemporary edge. Whether opting for wood-look porcelain or natural stone, how you arrange the tiles influences the space’s openness, polish, and timelessness. Precision, proportion, and practicality all come into play.
Proper planning ensures your tiling project aligns with architectural features, integrate smoothly with the room’s structure, and hold up for years. From selecting the best layout to executing a flawless installation, every step contributes to achieving a farmhouse-inspired floor that is both stylish and functional.
Contents
Choosing a Layout That Feels Balanced
A modern farmhouse aesthetic thrives on a blend of old-world textures and contemporary elements. Tile placement plays a significant role in striking this balance. Chevron and herringbone patterns add movement and a classic touch, while staggered or straight-lay arrangements offer a subtle, refined appeal that pairs well with wood-look and natural stone tiles.
Before deciding on a pattern, take the room’s size and layout into account. Large-format tiles create an airy, spacious feel, making them ideal for open areas, while smaller tiles work best in tighter spaces with intricate layouts. Aligning tiles with key architectural elements like kitchen islands, fireplaces, or entryways ensures a natural flow throughout the home.
For inspiration and tile flooring ideas, consider styles that fit the modern farmhouse vibe. Reclaimed wood-look tiles add warmth, while slate with gentle arrangement of veining introduces texture. The right mix of material and pattern enhances the space while staying true to its character.
Achieving Precise Alignment and Spacing
A flawless tile installation starts with careful alignment. Establishing a reference line—using chalk or a laser level—helps keep everything straight and symmetrical, preventing uneven rows and misaligned edges.
Consistent spacing is equally important. Tile spacers maintain uniform grout lines, ensuring a polished look. The width of grout lines affects the final aesthetic—narrow joints create a sleek, streamlined finish, while wider grout joints emphasize rustic charm.
Positioning tiles from the center of the room outward ensures that any necessary cuts are placed along the edges rather than in focal areas. This approach keeps the design balanced and intentional.
Managing Tile Cuts and Transitions
Even with careful planning, tile cuts are inevitable. Trimming tiles to fit along adjacent walls, doorways, or built-in features requires precision. A wet tile saw or cutter provides clean, even edges that blend seamlessly with the rest of the tile floors.
Smooth transitions between different flooring materials or rooms prevent an abrupt change in style. Threshold pieces or subtle grout adjustments create a cohesive connection.
When shifting from tile to hardwood or carpet, a flush transition strip maintains continuity and prevents tripping hazards. To keep the design looking clean and professional, place cut tiles in less noticeable areas, such as room edges or beneath cabinet bases.
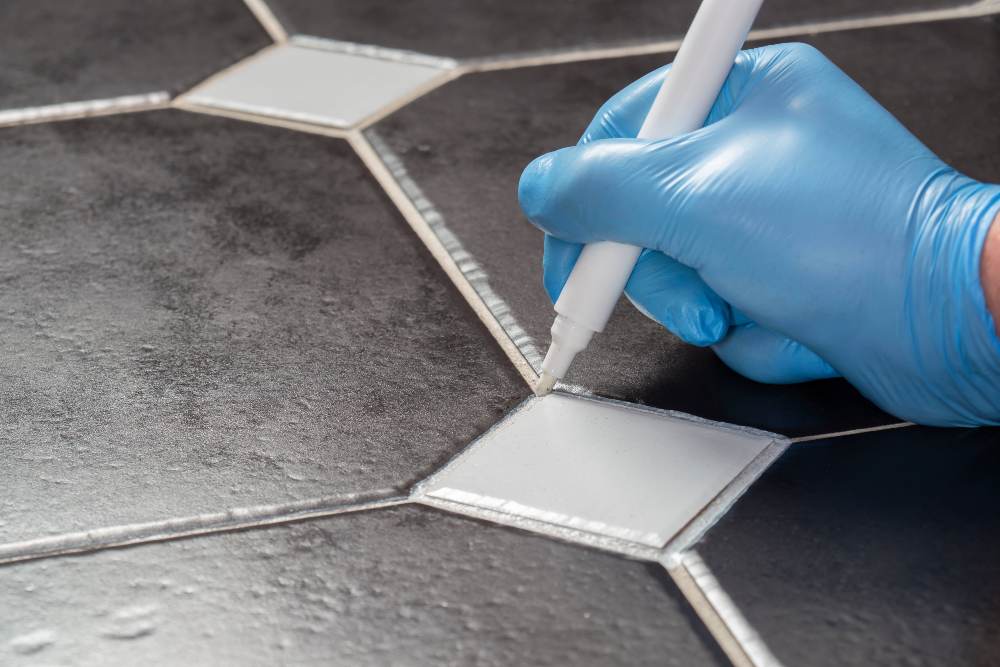
Choosing the Right Grout Color and Finish
Grout color significantly impacts the final look. A contrasting grout highlights the tile design pattern, adding definition, while a matching grout creates a smooth, uninterrupted surface. In modern farmhouse spaces, warm neutrals like soft gray or taupe complement natural materials without overpowering the intricate design.
The grout’s texture and finish also affect the overall aesthetic. Smooth, sealed grout is easier to maintain, making it ideal for high-traffic areas. Slightly textured grout enhances the organic look of stone or wood-look tiles, reinforcing the farmhouse appeal.
Consistent grout application is key to a professional finish. Letting tiles fully set before grouting prevents shifting and keeps grout lines even. The goal is to enhance the tile layout while keeping imperfections to a minimum.
Preparing the Subfloor for a Strong Foundation
A durable installation starts beneath the tile surface. The subfloor must be level, stable, and free of debris before laying tiles. Uneven surfaces can cause cracking or shifting over time, leading to costly repairs.
Using a self-leveling compound corrects minor imperfections, ensuring a flat surface. For additional reinforcement, a cement backer board provides a sturdy base that minimizes movement and improves tile adhesion.
Finishing Touches and Long-Term Care
Once tiles are set and grout has cured, sealing helps protect the surface from moisture and stains. Natural stone requires a high-quality sealant to prevent discoloration, while sealing grout lines on ceramic or porcelain tiles adds an extra layer of defense against dirt and wear.
Regular upkeep keeps the tile job looking its best. Sweeping and mopping with pH-neutral cleaners prevent buildup and preserve the finish. Adding felt pads under furniture minimizes the risk of scratches, and placing rugs in high-traffic areas reduces wear and tear.
The Bottom Line
A carefully planned tile layout, combined with precise execution, creates a durable floor that not only enhances the floor space but also withstands daily life. Whether choosing a herringbone, staggered, or straight lay tile pattern, maintaining balance and flow is key. With the right approach, your tile project does more than cover the ground—it establishes a warm, inviting foundation that stands the test of time.